The much awaited, much-hyped OS Windows 10 is finally out and already catching up a lot of attention. The tech world is welcoming this new kid with positive reviews and if you were disappointed with Microsoft for releasing Windows 8, there is a good chance that you will love Windows 10. If you were eagerly waiting for Windows 10 release, it’s your time to upgrade your Windows 7 or 8.1 device do all new, shiny Windows 10. In this tutorial you will learn how to upgrade to Windows 10 from Windows 7 or 8.1. Upgrading to Windows 10 is fairly simple task. Follow the steps and upgrade to Windows 10 now!
Note: Before upgrading, you should check the system requirements and eligibility for Windows 10.
Windows 10 System Requirements
Processor:
1 gigahertz or faster processor or SoC
RAM:
1 gigabyte for 32-bit or 2 GB for 64-bit
Hard disk space:
16 GB for 32-bit OS 20 GB for 64-bit OS
Graphics card:
DirectX 9 or later with WDDM 1.0 driver
Display Resolution:
800×600
Windows 10 Upgrade paths from Windows 7 and 8.1 editions


Step 1
Backup backup! First thing you may want to do before upgrading to Windows 10 is to take backup Backup your desktop, libraries, and any other data you may have to an external storage and proceed further.
Step 2
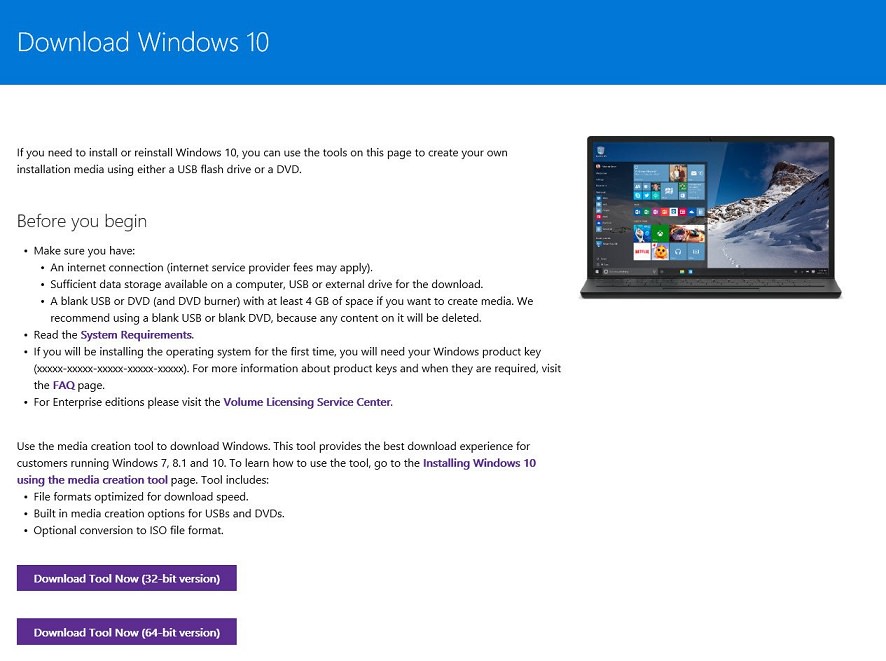
Download Windows 10 tool. Go to Windows 10 download page and download 32 bit or 64 bit version of tool as required. You can either save or run this tool.
Step 3
Run Windows 10 tool and choose Upgrade this PC now.
You can also make a bootable USB or DVD by choosing Create installation media for another PC option in order to perform a clean install of Windows 10, but in that case, you will have to buy and enter a Windows 10 product key. To upgrade to Windows 10 for free, you must choose Upgrade this PC now option.
Click Next.
Now Windows 10 will start downloading. It will take time depending upon your internet speed. Windows 10 download size is around 3 GB.


Step 4
Once Windows 10 files are downloaded, accept the license agreement. Windows will check your PC for compatibility and download updates.
Step 5
Once prompted, click Install Windows. Your device will reboot now and it will show Windows logo. Now choose language and Windows 10 installation will start.
Windows 10 will keep all your files programs and settings as it is during the upgrade process. (But a backup doesn’t hurt, just in case).
Step 6
Once Windows 10 setup is done, you will see the desktop. Wait for some time as Windows 10 searches for and installs drivers for your hardware and you are ready to go.
That’s it. You have upgraded Windows 7 or Windows 8.1 to Windows 10. You can start using all-new Windows 10.
Tech Stuffer Tip: Want to perform clean installation of Windows 10? Follow this guide on Tech Stuffer.
Love or hate Windows 10? Feel free to share in comments.
Support Me: If this article/tutorial helped you today, please consider supporting me and help me run frunction.com